So I’ve had a problem with the water heater recently. First, it stopped making hot water. Tried to determine what was wrong with it, but wasn’t thorough enough with my analysis, so a plumber was called in. Turns out, what could’ve been a $20 fix turned into a $120 fix because I couldn’t determine the part that needed replaced (and it was all too simple, really). But then things escalated, as I took this time between the water being cold, and being hot, to drain the water heater. You know, to filter out the sediment buildup, which is technically supposed to be done every 1-2 years to lengthen the lifespan of a water heat, but haven’t done it in over 15 years. Used the relief valve, and a hose to drain it, but utilizing the former ended up being a big mistake, as now the relief valve would’ve stop relieving water out of the heater (albeit in small increments, like a few drops a minute). Plus the water never seemed to stop coming out of the hose even though the water heater should’ve been empty at this point in time. Closing the water supply valve didn’t help. And I really didn’t feel like calling in the plumber again.
So I did what any manly man (wannabe) would do. Try to fix this shit himself. So, I’ll walk you through step-by-step what I learned from personal experience on how to go about fixing a gas-powered water heater (as opposed to an electric one) when one or more of the following happens:
- The water is no longer warm because the flame went out, and it won’t stay lit when you relight it.
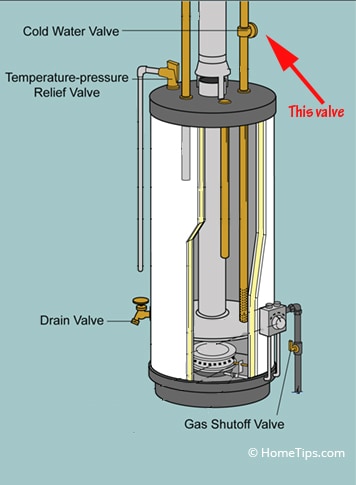
- The relief valve leaks (either from the valve itself, or at the end of the relief drainage).
- The water supply valve doesn’t stop the water from flowing.
- Then the water supply hose begins to leak, as if there weren’t enough problems.
- The hot water hose line (going from the heater into the house) also begins to leak, for some fucking reason, after all that other work gets resolved. Because fuck my life.
Regarding point 1, I watched this video to try and determine what could be wrong:
At first I thought it was the thermocoupling, so I took the video’s advice and used some steel wool to clean it off. That didn’t work. So then I figured it was the solenoid. Well, we ended up getting a plumber to come down anyway. Turned out it was the thermocoupling all along. Made one big mistake when taking a look at it. We didn’t take it out of the bottom of the heater completely to give it a good look-over. Because if we did, we would have seen that it was corroded (guess that would be the 11th top fucking reason the gas pilot light would go out). And if we had checked that and determined that, we wouldn’t have needed the plumber, and we could’ve saved ourselves $100.
9 times out of 10, if the pilot light won’t stay lit, it’s likely the thermocoupling. Give it a really good look-over, run electricity tests if you have to (to test the current). Because if that’s not the problem, you might be SOL, and actually need a plumber. Because last I checked, as far as solenoid goes, Home Depot doesn’t exactly sell one of those. You might need a whole new burner set for the heater.


Regarding point 2. So while the fire was out and the heater was cold, I figured it would be a good time to flush the water out of the heater. Technically, you should be doing this every 1-2 years to get rid of any sediment build-up (you’ll know you definitely have too much buildup if you hear a rumbling in the heater when it heats up, like if it sounds like some rocks are moving around inside there). Because sediment lowers the lifespan of your heater. And by lower lifespan, I mean eventually cause the bottom of the heater to rot away and cause hot water to leak onto the burner, and completely ruin the whole thing.
So anyway, I watched the below video:
And went about flushing the heater out. Shut off the heat (and the gas too; some water heaters need the gas manually shutoff too after the burner shuts off and is set to Vacation/Pilot mode), then close off the cold water supply to the heater, connect the hose to the drain valve, open the valve to let water run through the hose, and let the water completely drain and get some of that sediment out. Unlike the video, my heater didn’t have one of those drain valves where you just make a quarter turn and that’s that. Nope, this is one of those drain valves where it slowly continues to open when you turn it counter-clockwise, until you’ve turned it far enough to where it stops turning. It slowly opens up more and more, not just automatically opens all the way with a small turn.

But that’s a minor issue. The point is, the fucking water wouldn’t stop flowing out. Like the supply was unlimited or something. So then I did what I thought was the next best thing, open the relief valve. Well, water did come out of that. And it did one thing right. It flushed a black widow out of the relief pipe, which I then karate kicked into oblivion against the wall. But then the ghost of the black widow came back to haunt me by having water continuously leak out the end of the relief pipe. After opening and closing the relief valve a few more times (and just shutting off the drain pipe altogether, giving up on trying to drain the heater), determined that it just wouldn’t shut the water flow off all the way.
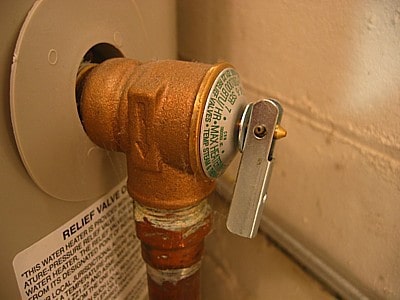
Turns out that opening the relief valve manually at any point in time is almost always a bad idea (unless you have a really really good reason for it, like emergency purposes, or if there really is no other way to air out the water heater so that water will actually flow through the drain pipe; you always have to air it out, whether it’s with the relief valve, opening one or two faucets in the house on the hot water side, or both). Because when you open it, there’s a chance the very sediment you’re trying to remove from the water heater when you drain it could get caught up in the relief valve, and prevent it from closing all the way shut ever again. Meaning the only way to resolve this issue is to purchase another one.
Well shit, here we go again. So not only did we fail to flush the sediment out of the tank (because we couldn’t figure out why it never completely emptied itself of water, even though we closed the valve), now we had to replace the relief valve. And once I opened up the cold water supply valve again to let water back into the tank (you know, if nothing else, just to put it back the way it was), there was a brief shake and sputter (I kept it aired out, I kept some water valves open in the house to prevent jackhammers [when the air pressure built up in the system tries to ruin your pipes and appliances, and thus ruin your life]), with a small trickle of water momentarily leaking out of the water supply line, through the insulation (water supply and hot water outlet lines should always be insulated, especially if they’re outdoors) and onto the heater. Well shit, here we go again. So now I had a potential water supply line that needed replaced too.

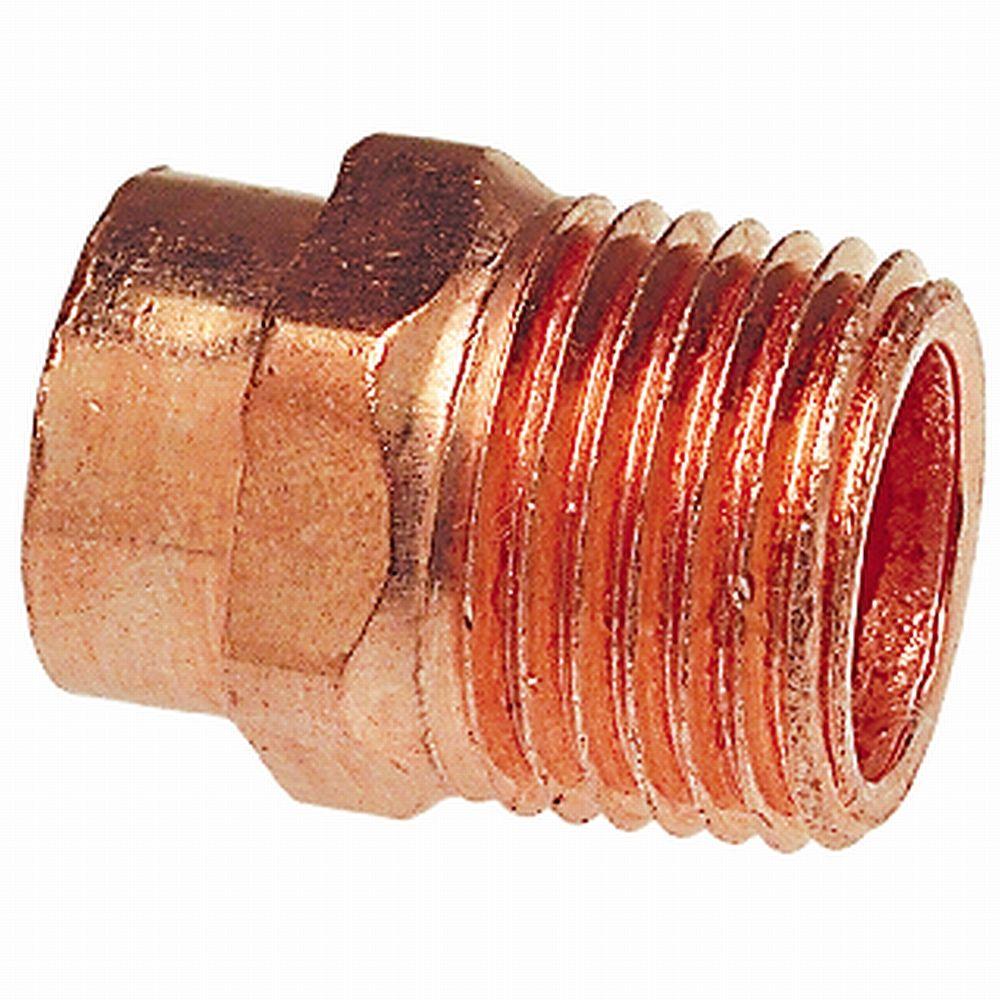
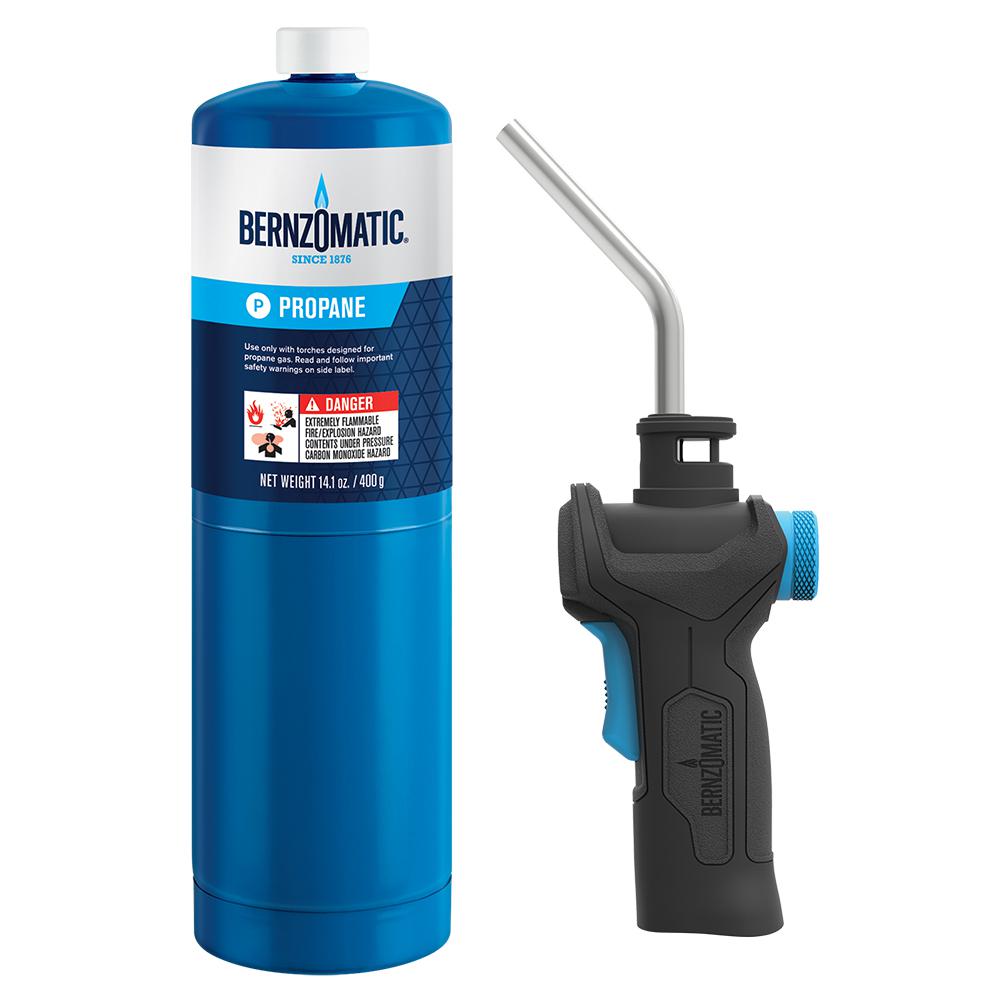
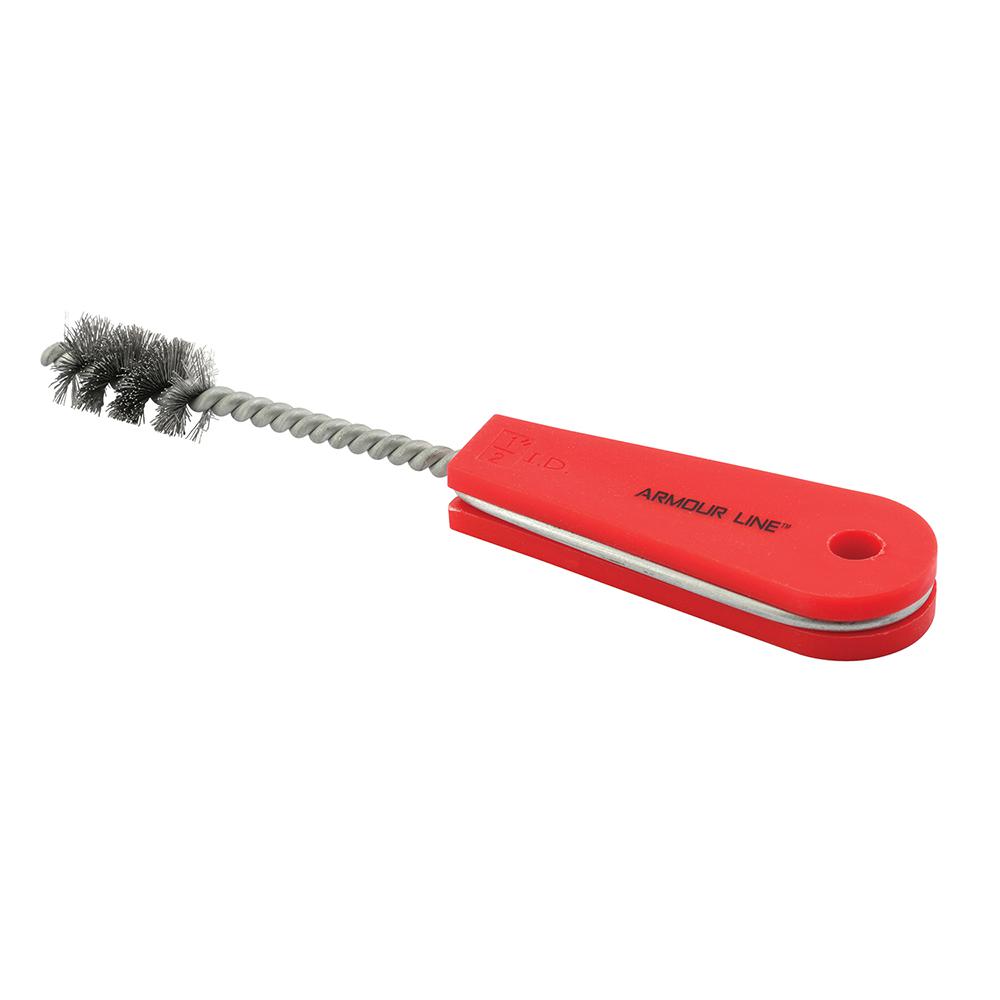
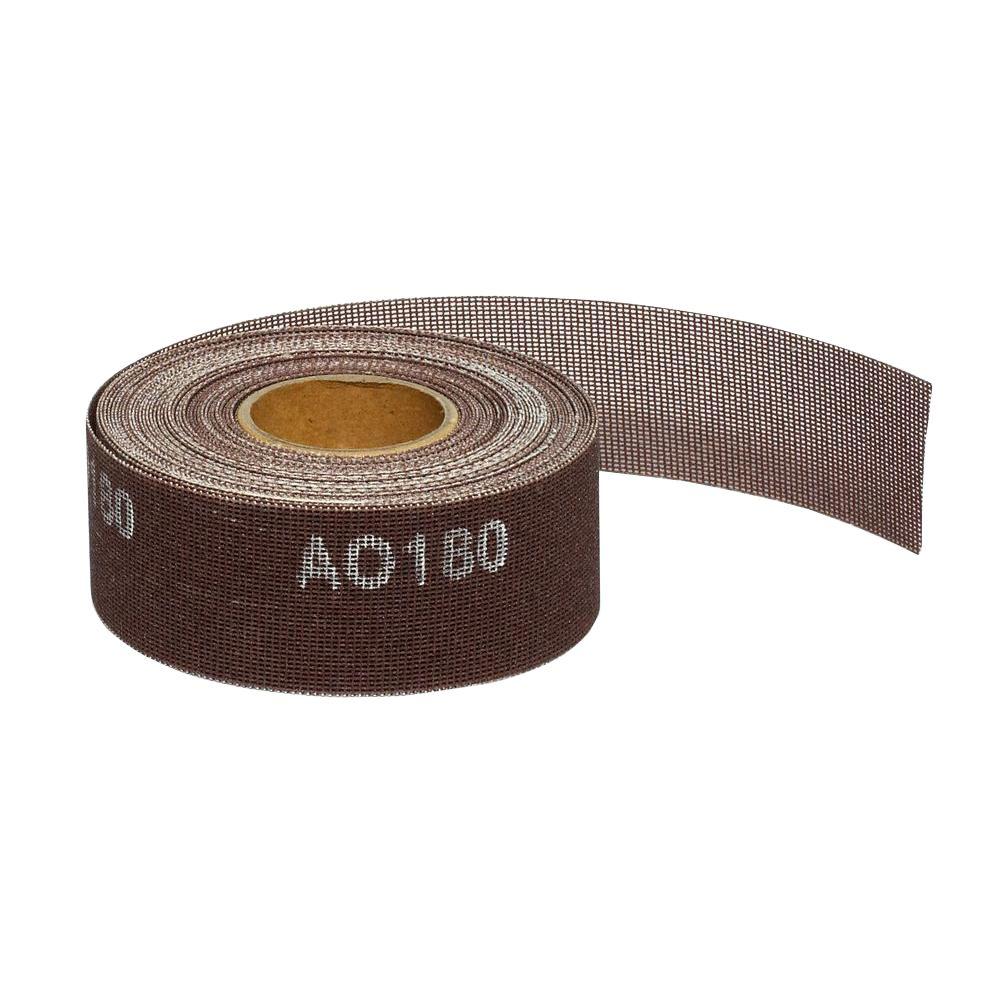
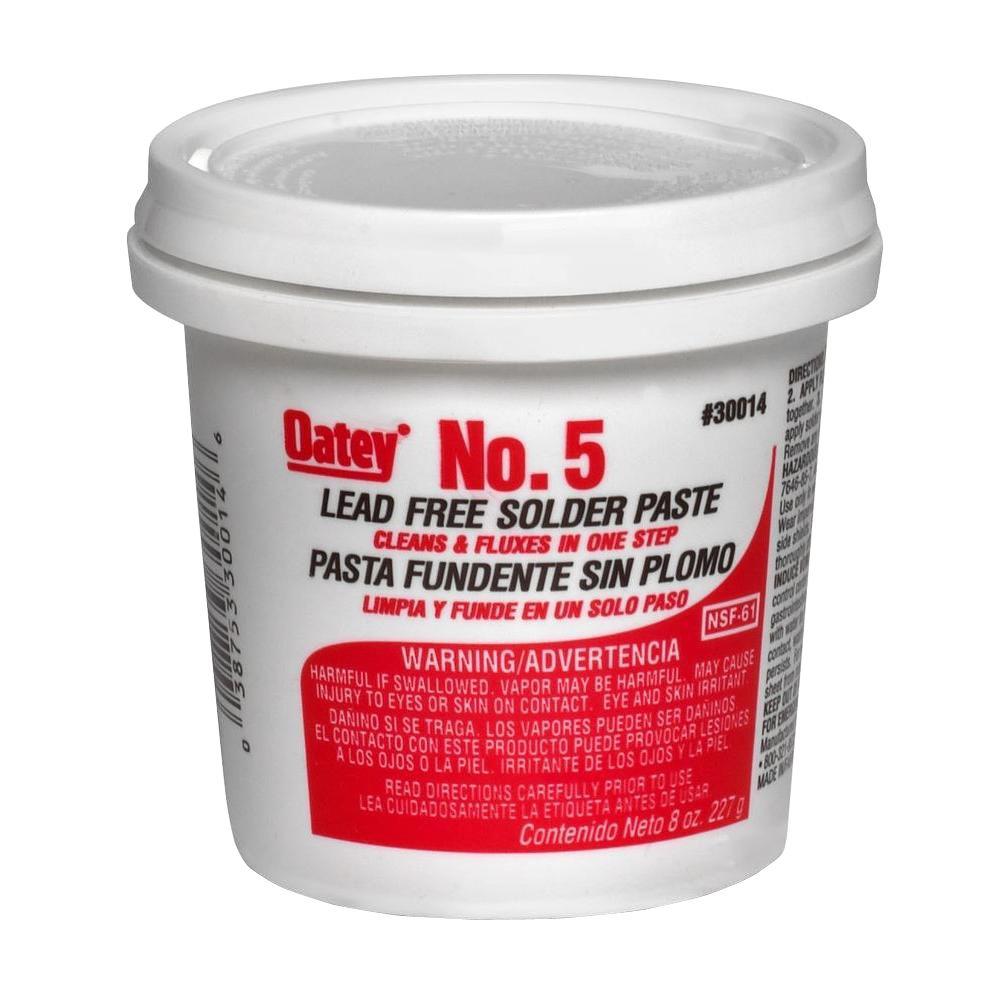
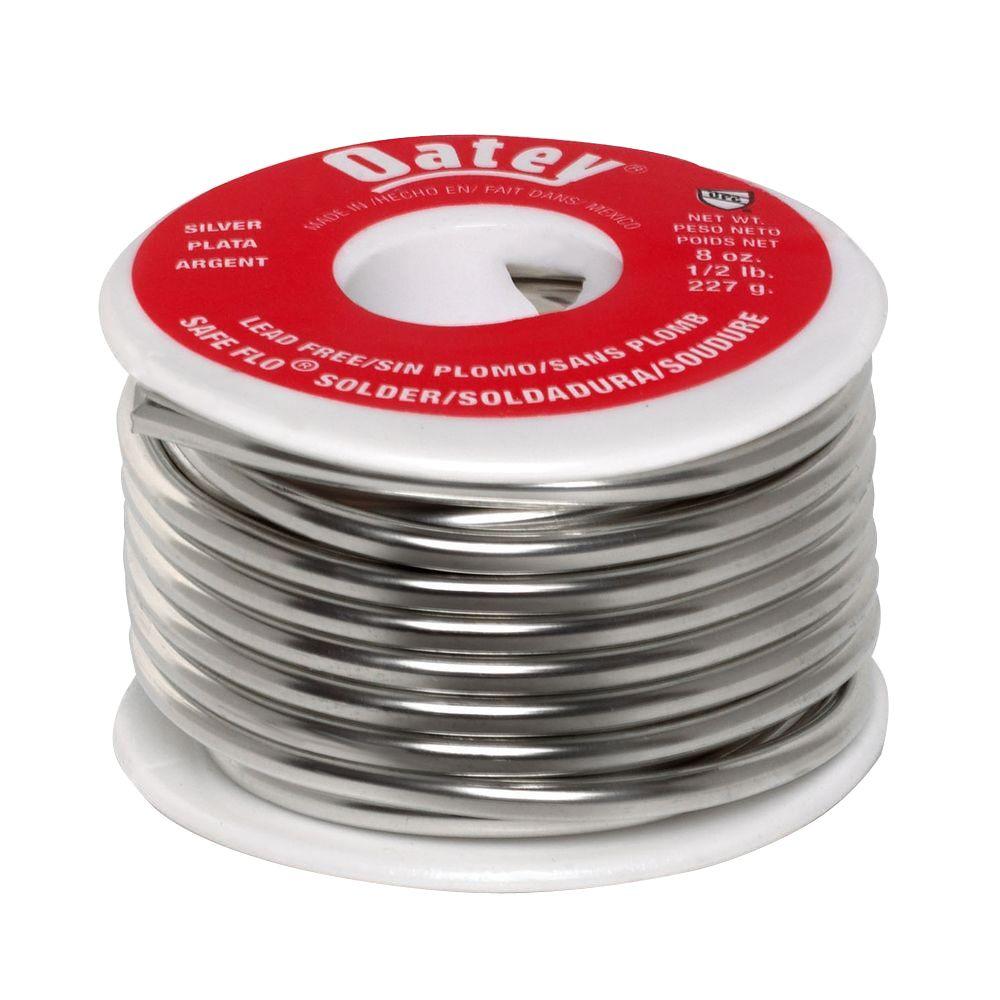
So I go to the store to get all this shit. A relief valve, some copper pipe (just in case some needed replaced), a 90 degree elbow (just in case), a male adapter fitting (to fit onto the relief valve), copper pipe cutters (didn’t have any), some Teflon tape (aka plumber’s tape), a torch for brazing, a fitting brush, open-mesh sand cloth, and some solder and flux.


So before I could replace the relief valve, I had to drain the water from the heater (after closing the cold water supply valve, and shut off the gas and flame). Well, as before, the water never seemed to stop coming out of the heater as before (the hose attached to the drain pipe kept putting out water). Because, you see, water isn’t supposed to be coming into the water heater once the water supply valve is closed off.

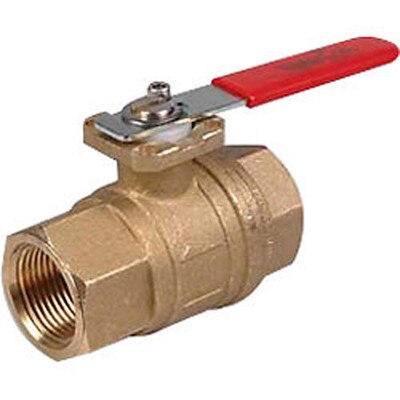
Made me think something was wrong with the water supply valve. Also, upon closer inspection, I noticed the water supply hose was leaking a small amount. Sure enough, whether I had the supply valve opened or closed, water would still leak. So I decided to take drastic measures. I shut off the entire water supply to the house.
Well, it helped a little. At least no more water was flowing out of the drain valve and out through the hose (and least not in a regular amount). So then we unscrewed the water supply hose. And once we did that, we noticed there was still a trickle of water coming out of the valve the hose connected to. As in, the valve wouldn’t close all the way to prevent water from flowing into the heater. So now we had to replace the fucking valve too.
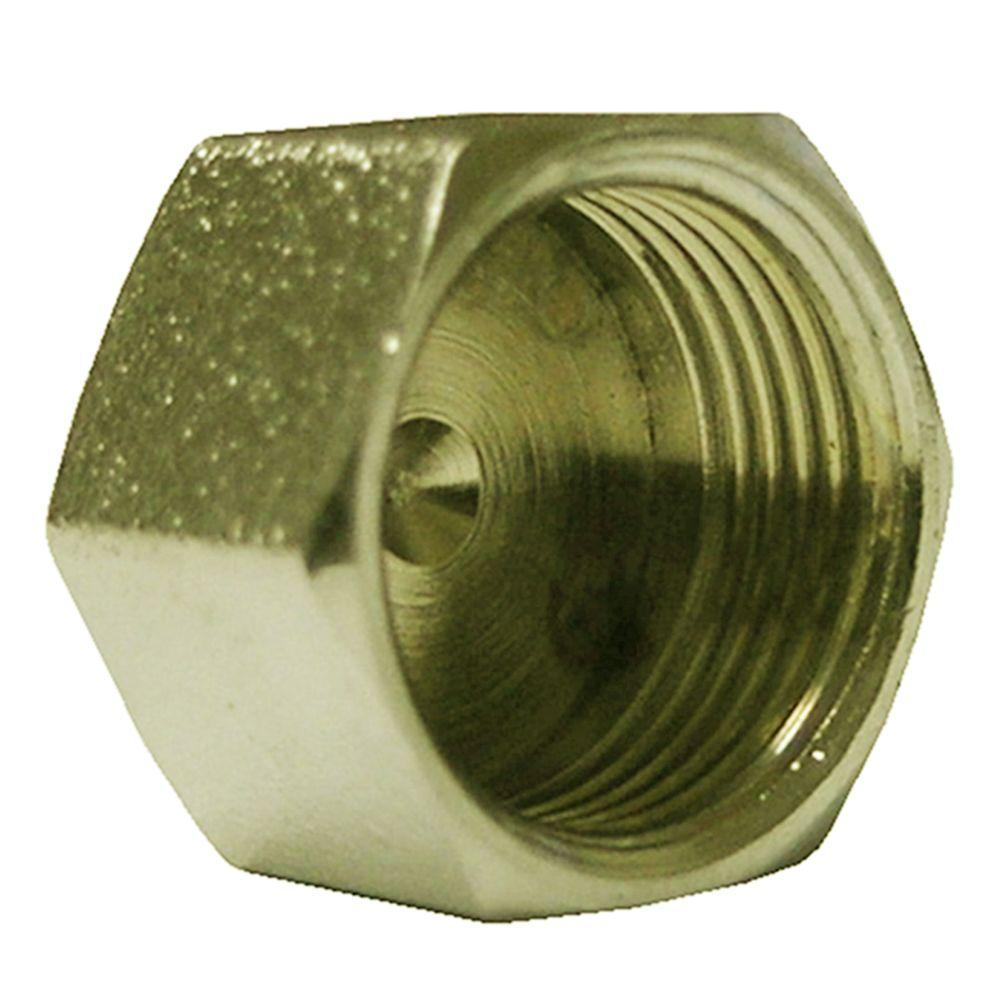
And take note. It’s a good idea to have a cap for such an occasion as this, just in case you need to completely close off a valve/joint in order to prevent leaks onto sensitive areas (you don’t want water leaking onto your heater).
So, we got that replaced, then replaced the inlet hose connecting the valve to the heater. And now when the valve is closed, no water would come into the heater from the cold water supply line. Or so we thought. Once we turned the main house water supply back on, water came flooding back into the water heater. Well, it sure as shit wasn’t coming from the supply line this time. Which left only one other option. It was somehow bringing in water from the hot water outlet line.
I’m still not entirely sure how the fuck that’s supposed to work, but learning a bit about this after-the-fact, it would seem as if the clothes washer has something to do with a connection to the water heater, allowing water circulating from inside the house to flow back into the water heater through the hot water outlet line via a connection to the clothes washer appliance. Allegedly, closing the water line to that appliance could fix this issue.
In any case, at the time, I threw my hands up in the air and just decided to say “fuck it.” Closed off the main water supply again, decided to forget about flushing all the sediment out of the water heater completely (it’s wasn’t worth turning the house water supply line on and off continuously, that would wear it out and make it about as efficient as the busted water valve we had replaced).
So, with that out of the way, now we had to finally go about fixing the relief valve.
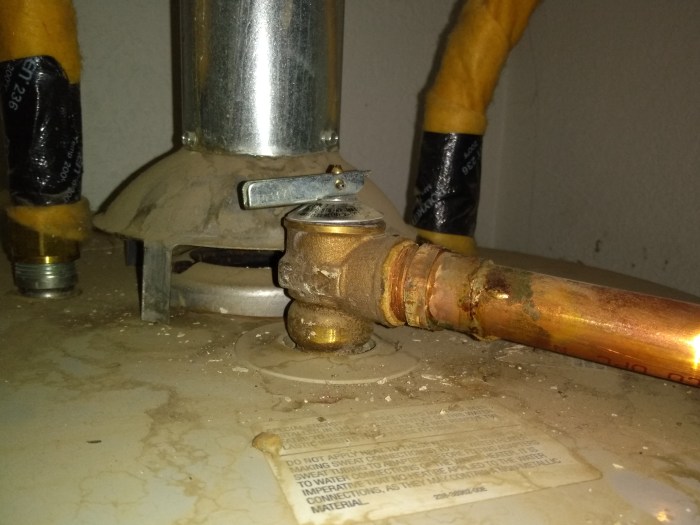
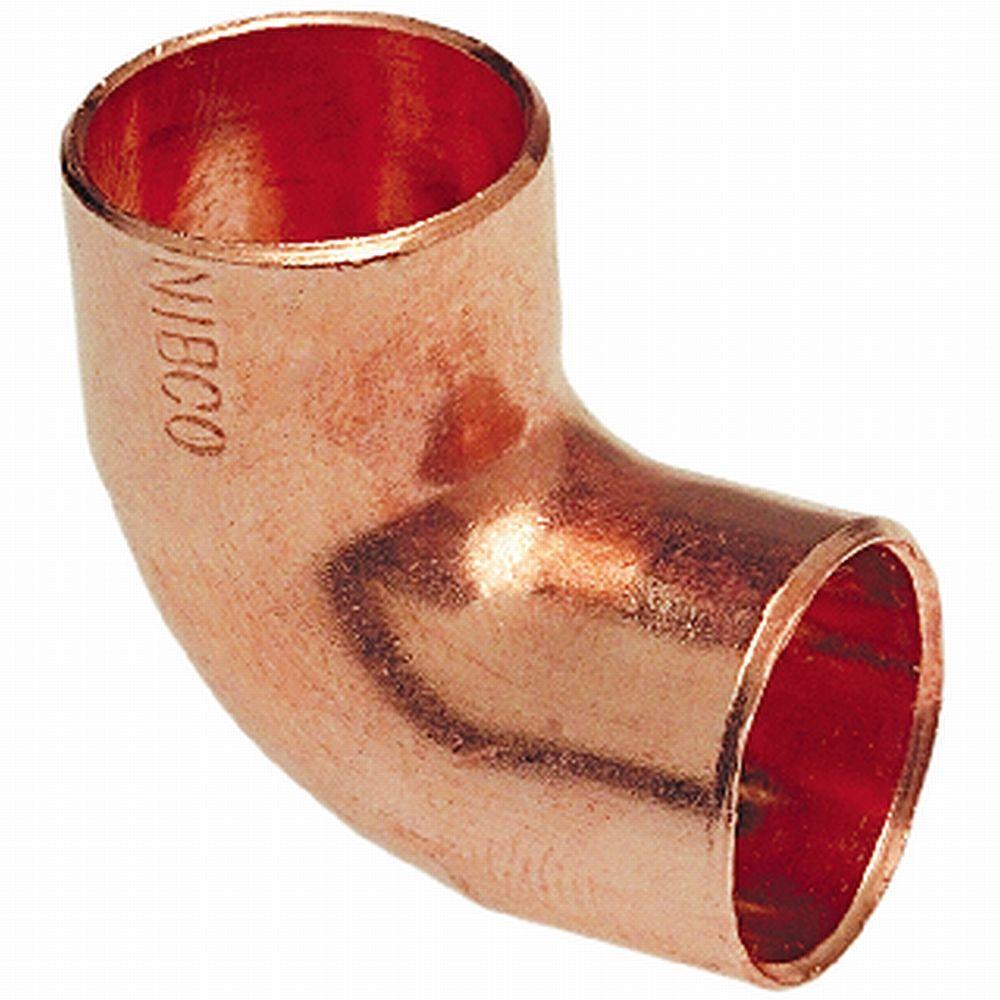
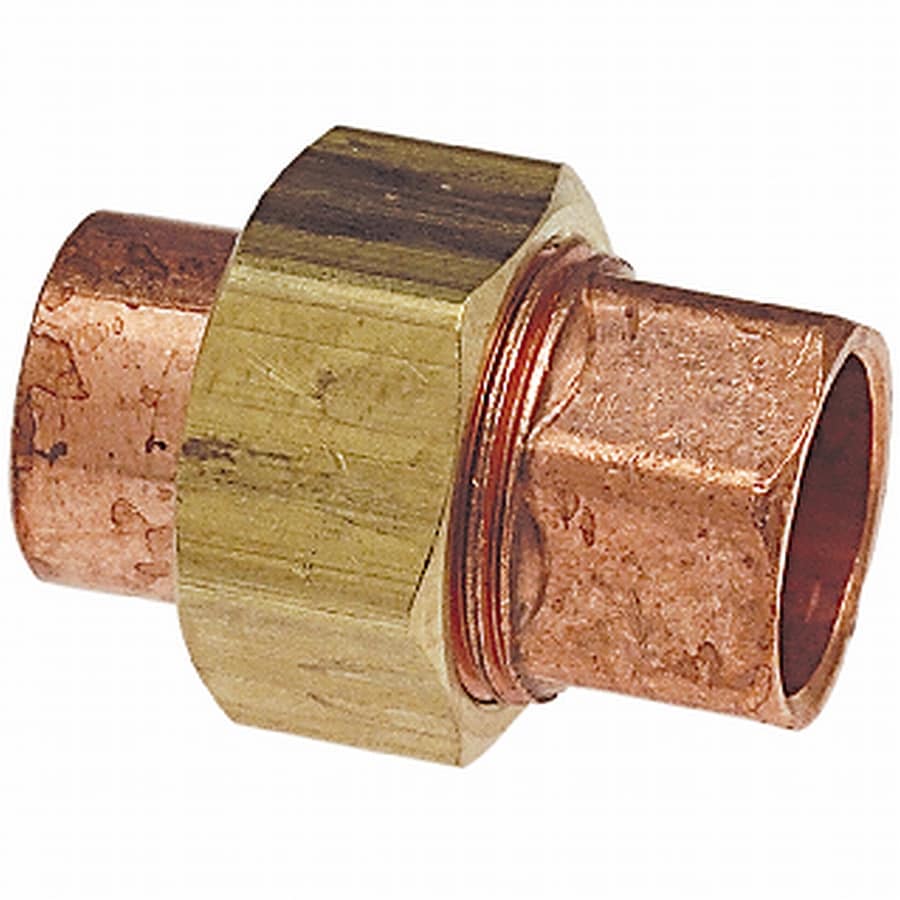
In order to remove the relief valve, I first had to cut out a section of copper pipe so I could unscrew the portion that was already attached to the valve. Now, technically, in this present day and age, it is against plumbing code to have it built this way. You should be able to just unscrew the copper pipes via a union (as opposed to two sections of pipe soldered together via a coupling) so that no pipe cutting and brazing is necessary for this entire process. So if you find yourself in a position to where your relief pipes look something like this:

Use a union instead of a coupling to join the pipes together afterwards.
So, how I ended up doing the process. First, I cut out a small section of the copper pipe with the pipe cutters.
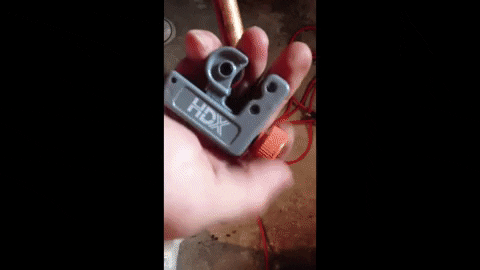
Then I had to unscrew the male adapter (with the attached copper pipe) from the relief valve. Once that was done, then I just had to unscrew the relief valve from the heater. This is easier said than done (same thing with unscrewing the water supply valve). Trying to find the right combination of pipe wrench, crescent wrench, getting the right angle, putting enough pressure on it without breaking something else. It’s one of those things you’ll have to experience yourself to know how much of a pain in the ass this can be at times.
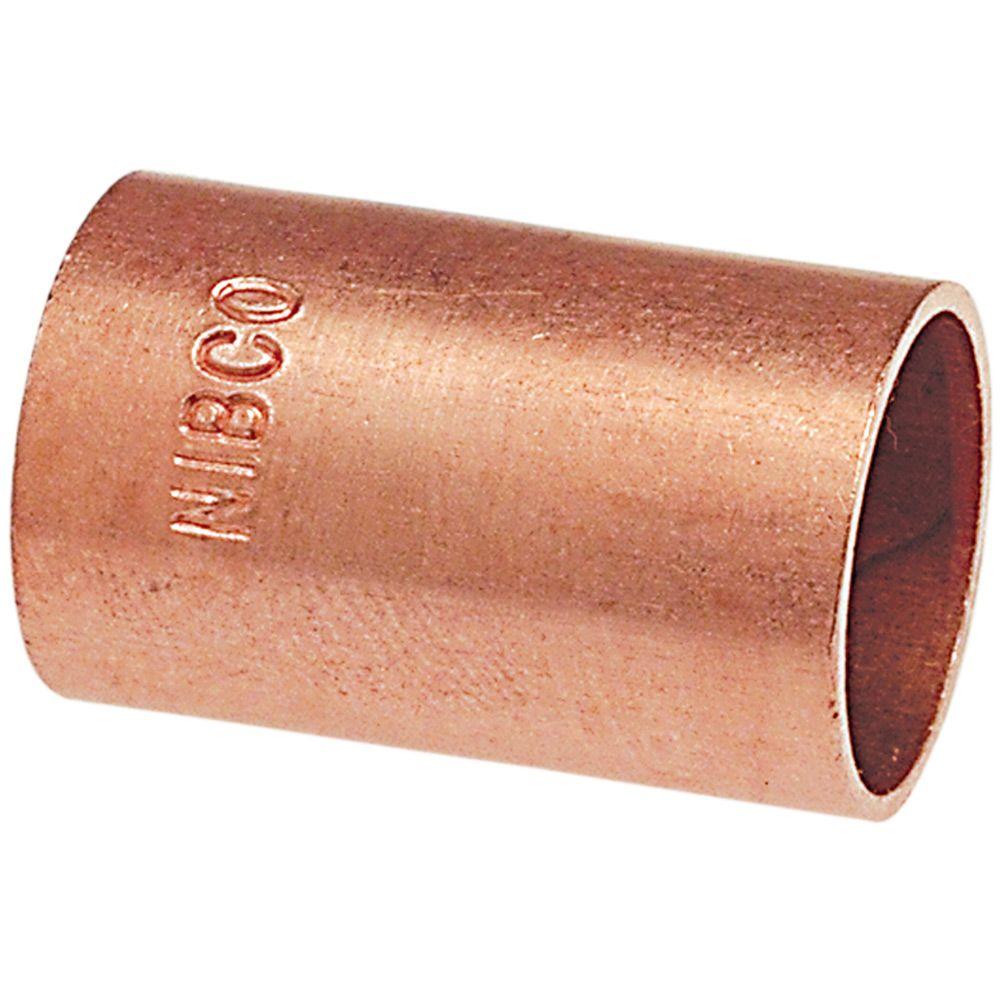
Long story short, we eventually managed to get the old relief valve out, and put the new one in. Screwed in the original male adapter & copper pipe connection used on the old relief valve (after applying a new set of Teflon tape to the male end of the joints), and then got ready to solder. First, use the open-mesh sand cloth to “clean” the ends of the copper pipe that will be covered by the coupling (or union, if you were smarter than me at the time to use that instead in this situation). I prefer open-mesh sand cloth to the alternative tube cleaning brushes, because they don’t always clean the pipe as good as they should. Cleaning the pipe removes the outer coating.
Then use the wire brush to clean both ends of the coupling (the inside part; clean the outside of the copper pipe, the inside of the coupling joint).
As quickly as possible (preferably within 30 seconds of cleaning), apply flux to the cleaned sections of the pipes and joint. This will prevent them from oxidizing (oxidizing prevents a good soldering job). Join the both pipe ends together with the coupling, and then you are ready to solder (see video above with soldering, which will demonstrate it better than I could).
Now, if this is the first time you’ve ever done brazing/soldering, I strongly recommend doing to practice runs on expendable pieces of pipes and joints. Because in delicate situations like these, the last thing you want to do is fuck it up. Otherwise you’ll be replacing pipes and joints in inconvenient places and positions. Only reason I was confident on the first go was because I had experience doing it. And if you’re near a wall when doing this, I would also suggest having one of those fireproof sheets to cover the wall with (see earlier image where I showed the pipes soldered together into a coupling, there’s a black sheet hung up on the wall, that’s a fireproof sheet).
For me, all went well once the soldering was done. So we turned on the house water supply valve (and the cold water supply valve to the heater), doing this ever so slowly and keeping some faucets open in order to let the air pressure out of the system to prevent jackhammers (that should be your worst fear in situations like this). Once the water heater was full again, we lit it back up, and prematurely celebrated.
The celebration was premature because I heard some subtle noises that turned me pale and just about gave me a heart attack. Dripping. I don’t mean dripping from the water supply line. No. I mean dripping from within the water heater. Dripping onto the burner below that was heating it up. Making me think that after all that shit, the base of the heater was finally starting to give, and water was leaking out of it. I quickly shut off the flames (and thus the gas), and began to lose my sanity. All I could think was, “After all that bullshit, we have to replace this motherfucking water heater anyway, and go one grand into the fucking hole!?” I was at the end of my rope. That I just couldn’t successfully fix this fucking thing by myself, that all that work was for naught.
So we called the plumber. However, these were nice guys over the phone. After telling them what we did, they had one word for us. Condensation. As in it was common for condensation to build up around the inside of the tank after doing work like this, that could last for up to 18 hours or so. As in the water heater wasn’t breaking down, it just condensates from the water volume and temperature changes during this entire time. So we lit it back up. Sure enough, about an hour later, the dripping stopped. Just basic chemistry at work.
Finally breathed a sigh of relief.
As an epilogue, I had to get some insulation to wrap around the new water inlet hose. Standard procedure to prevent the hose/pipe from breaking during extreme cold weather (particularly if it’s an outdoor water heater).


It’s also a good idea to do the same to the water heater itself, if you’re up to it.
PS: Ah, that’s right. The hot water outlet hose. That started to leak too once we filled the heater back up and lit it. So I was pissed, thinking we’d have to replace that hose too. But it turns out, it only needed to be tightened. Because for some weird reason, the connections on the hose weren’t tight to the point of being snug. Not sure if that happened as a result of coming loose over the years, or if it was never tight to begin with (and the insulation absorbed any drips that happened up to that point). The point is, we fixed it by tightening the ends. So consider that you might not necessarily need to replace the hoses. Sometimes they only need a good tightening. That’s a best-case-scenario, and be thankful when that is the case, because that’s not always the case.
PPS: Oh, right, and the anode rod. That rod basically prevents rusting and corrosion from inside the water heater. But it can break down as well after so many years. Average lifespan of a decent old-fashioned gas water heater is roughly 15-20 years. Expect shit like this to happen after that much time passes (unless you got one of those shitty new models that aren’t built to last as long).